Publishing Apps
brainCloud is free during development. While in development, apps have the following restrictions:
- 100 users per day
- 1000 users lifetime
- no live in-app purchases.
Publishing your app and associating it with a brainCloud Subscription Plan removes those limitations.
To enroll in a Subscription Plan, you'll need to create a billing account, and set up a credit card for payment.
Creating your billing account
brainCloud uses a secure, 3rd party billing system to maintain your payment info and handle monthly invoicing.
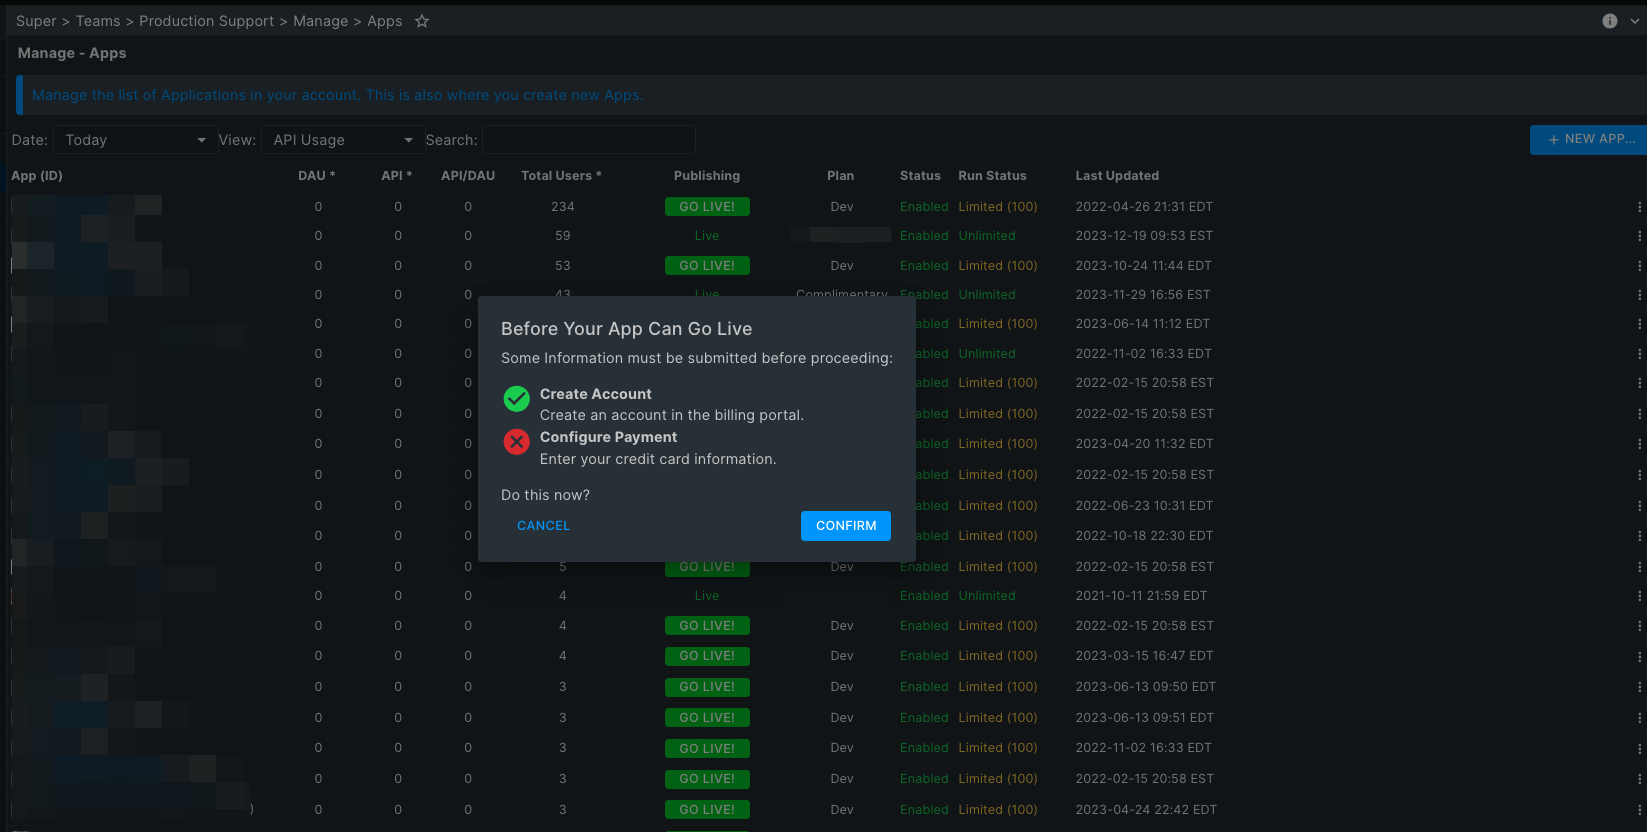
To create your billing account:
- Select the Team tab from the top menu
- Select Manage from the side menu to view the management page choices
- Select the Team Info page
- Go to the Billing Information section at the bottom of the page, and click the [Edit Billing] button
- An e-mail will be sent to you, with a link to click to create your billing account. Click the link.
- Follow the instructions to create a billing account userid and password
(Note - this is separate from the brainCloud portal account, and keeps your credit card information private) - Enter your contact info on the [Customer Information] tab
- Enter your payment info on the [Payment Method] tab
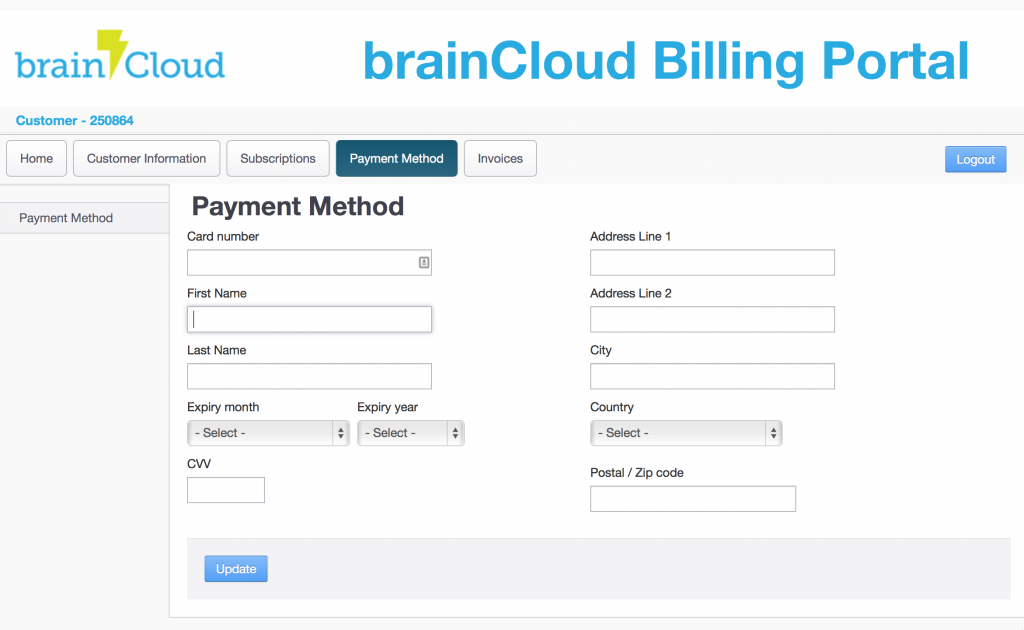
When you're done entering the information in the billing portal:
- Return to the brainCloud portal, returning to the Team | Manage | Team Info page
- Review your Account Status displayed at the bottom of the page under Billing Info
- This section should say "Ready to go live".
- If it doesn't, hit the [Refresh Billing] button to update it
You're now all set to publish your app.
Publish Your App
Once your billing info is set up, publishing an app is very straightforward.
To publish your app:
- Select the Team tab from the top menu
- Select Manage from the side menu to view the management page choices
- Select the Apps page
- Find the app in the list, and click the [Go Live!] button
- You'll be asked to choose the Subscription Plan to associate with your app.
- Plans have two types: Basic and Plus. The key benefits of Plus plans are support for RTT and Hosting, which are typically needed in head-to-head real-time games.
- Within Basic and Plus plans, you can select Lite, Standard or Business tiers. Note that in addition to a higher API count, the Business Plan offers additional enterprise and integration features, plus higher base API and storage/download amounts. For full details, see this page.)
- Select your preferred plan from the list, and click [Choose Plan].
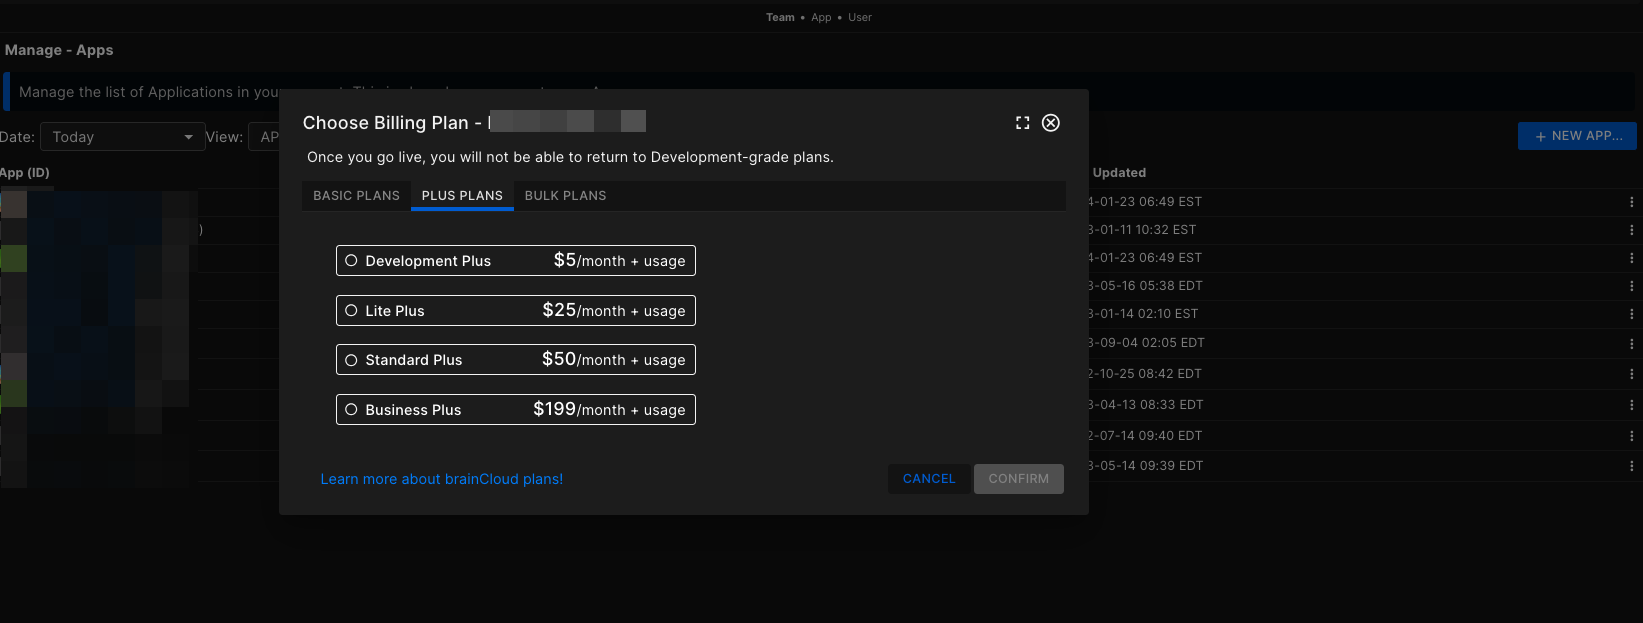
The Apps page should refresh to reflect the updated status of your app. If it doesn't, choose Refresh from the Action menu.
Your app is now live - your first monthly payment will be processed at the end of the month. Note that the flat fee associated with your subscription plan (i.e. the $30 flat fee associated with the Standard plan) will be pro-rated according to how many days are left in the month.