CC Tutorial6 – S2S Scripts
Want to create S2S cloud code script, but don't know where to start?
In this tutorial, we will take you through the process of creating a simple S2S script, and calling it from an external client (Postman).
Step 1 - Create the S2S Script (AddNumbers)
-
Go to the brainCloud Portal and open the Design | Cloud Code | Scripts page
-
Click the [+] Plus icon to start adding a new Script

-
Give the Script a name and description. Also, ensure the [x] S2S checkbox is checked.
Note: Client callable is optional, but it's a good idea to disable it if the script will never be used client side. -
Create some Test Parameters to use. For this tutorial, enter:
{ "a": 4, "b": 3 } -
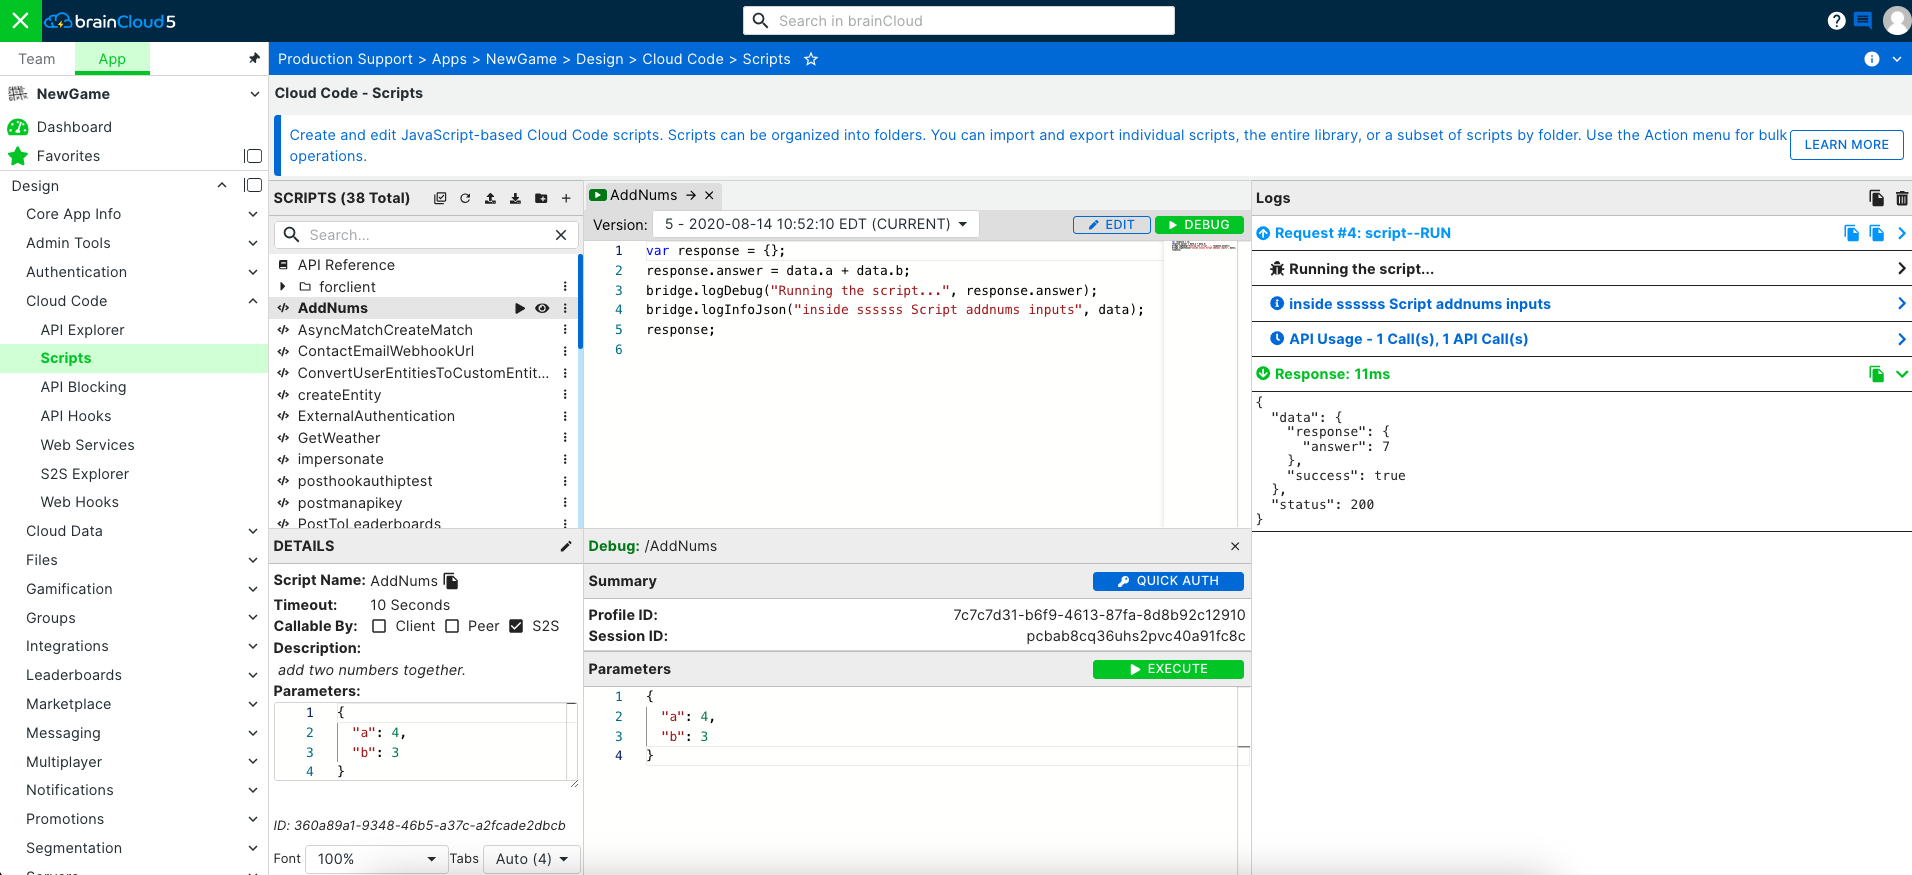
You're done in the Details tab, click on the Editor tab. Here, enter the following:
var response = ; response.answer = data.a + data.b; response;
Note: The last line is always what will be returned in the response.
-
You should have something that looks like this after.
-
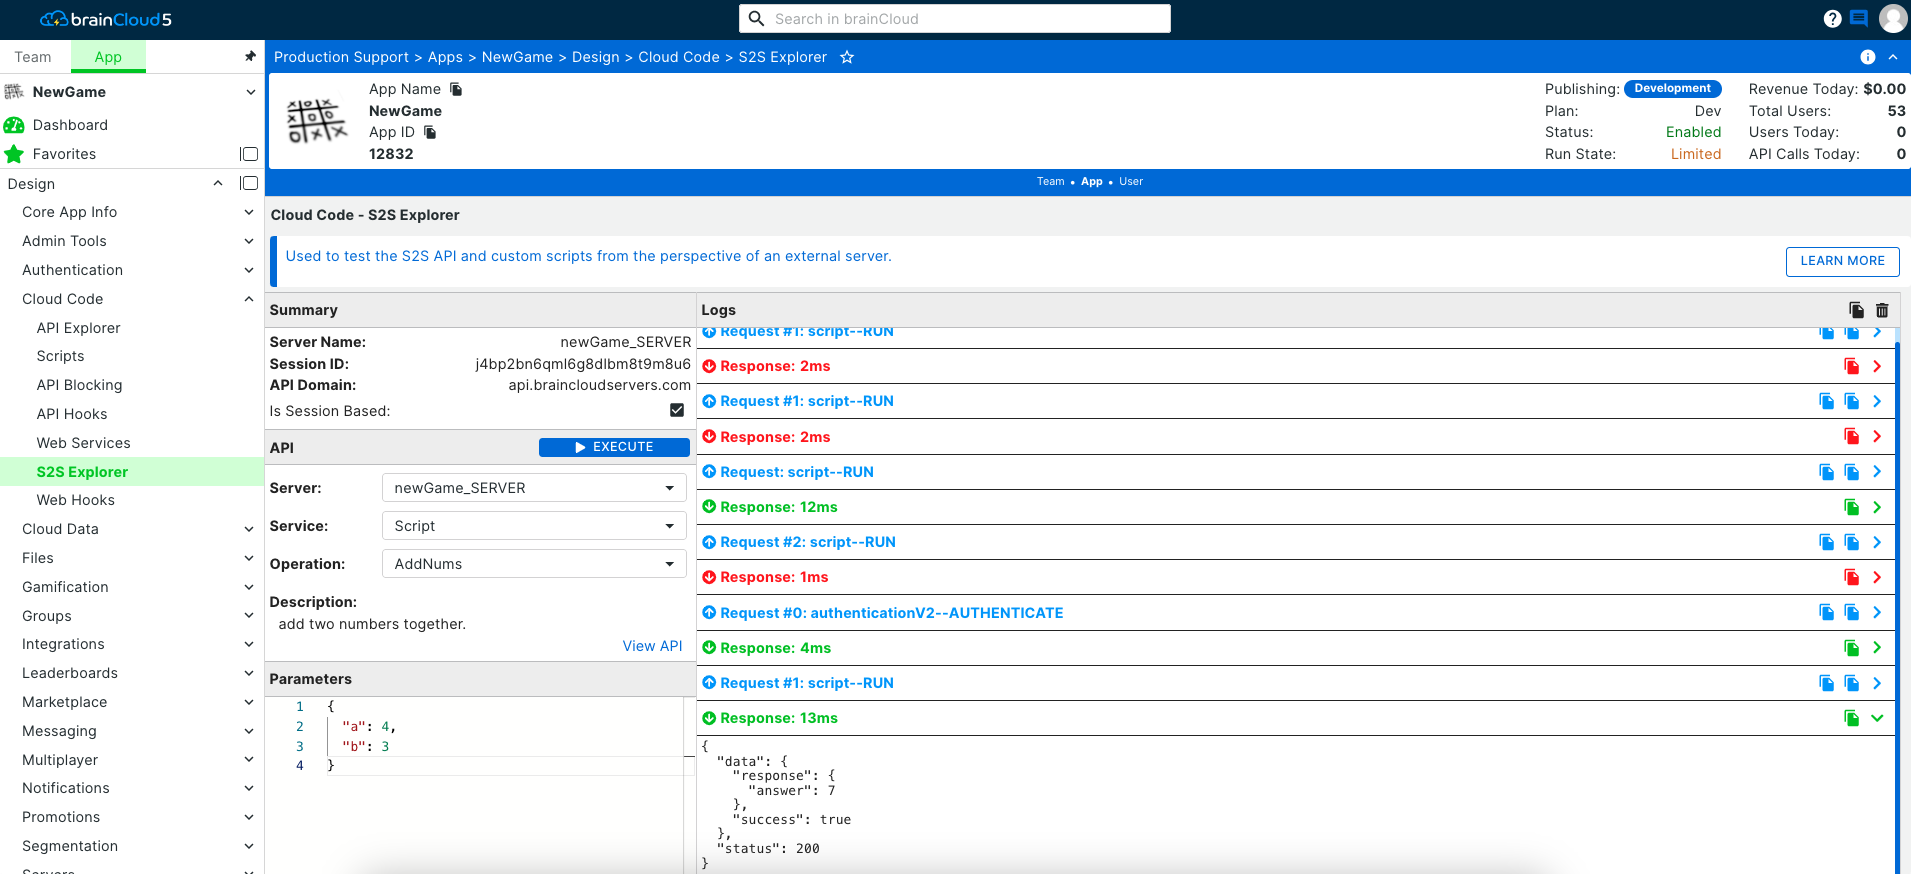
The last tab is the Run tab. Here, you can do a [Quick Authenticate], and [Run] your new script to view the return!
([Save] and [Close] when you are done editing and testing your script)
Step 2 - Configure an S2S Server to call it from
- Now go to the brainCloud Portal and open the Design | Cloud Code | My Servers page, and click [New Server]
- Enter a name for your server, such as APP_SERVER, and click save. This will generate a secret for your server
Note: You can also limit the IP ranges for your server. This is highly recommended for production deployments.
Your script and server should now be visible in the S2S Explorer.
Step 3 - Call it!
- Let's try calling it from Postman! (If you don't already have it, you can download it from here.)
- Launch Postman, and configure a new request.
- Set the request type to "POST"
- Set the request URL to "https://api.braincloudservers.com/s2sdispatcher"
- Send the following in the body (setting a type of "raw", sub-type "JSON"), replacing the:
- gameId with your appId
- serverName with the name of the server that you configured above in step 2
- and the gameSecret with the secret of the server that you configured above in step 2
{
    "gameId": "11549",
    "serverName": "APP_SERVER",
    "gameSecret": "97e1d95d-69f4-472e-904f-39f372777aee",
    "service": "script",
    "operation": "RUN",
    "data": {
        "scriptName": "AddNums",
        "scriptData": {
            "a": 3,
            "b": 4
        }
    }
}
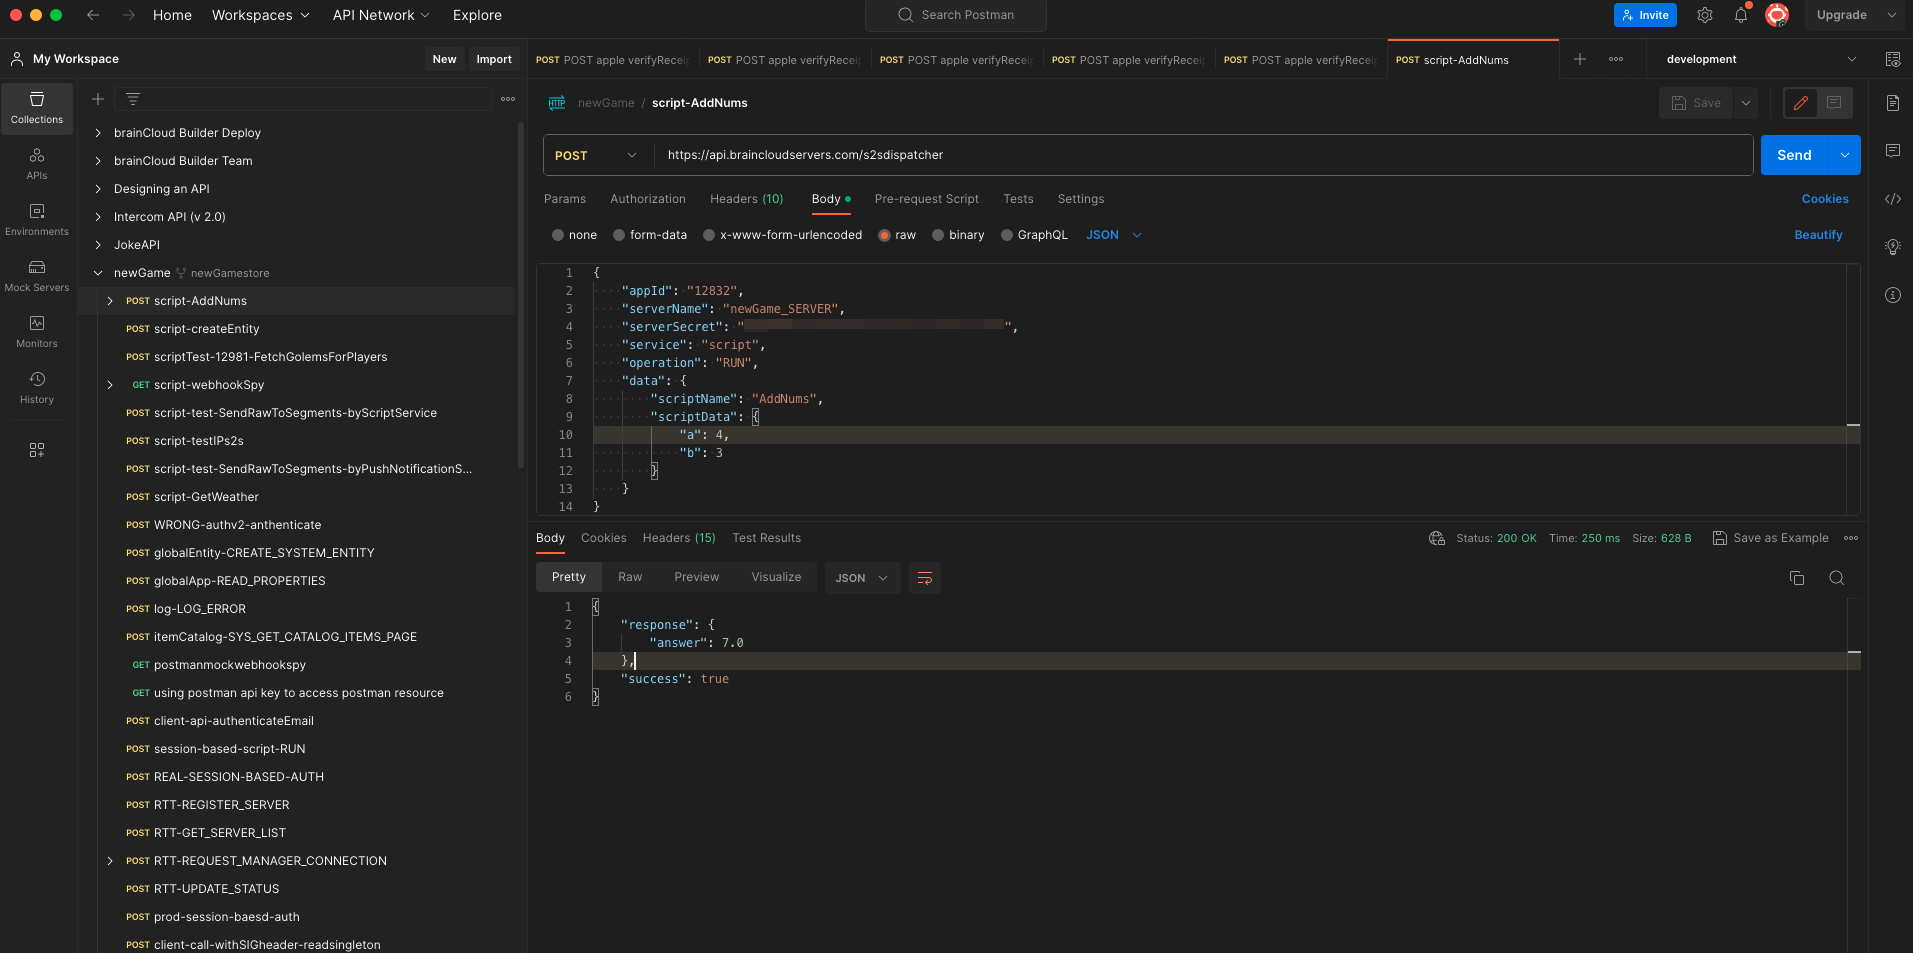
- Hit [Send]. If you app is properly configured, you should see this response:
{
    "response": {
        "answer": 7
    },
    "success": true
}
Step 4 - Experiment!
That's cool, but let's try exercising the brainCloud API? Try creating and executing the following script:
var profileId = "";
//Get the passed in profileId
//ex. {
// "profileId": "c82b45c0-d906-42a9-8879-2db9c9d8dbc2"
// }
profileId = data.profileId;
//Create a session with that user
var session = bridge.getSessionForProfile(profileId);

//Grab the enity service with the current profile session
var entityProxy = bridge.getEntityServiceProxy(session);

//Now let's create a new entity that will be attached to that profile
var entityType = "address";
var entityData = { street: "1309 Carling" };
var acl = { other: 0 };
var response = entityProxy.createEntity(entityType, entityData, acl);

//And return the response
response;
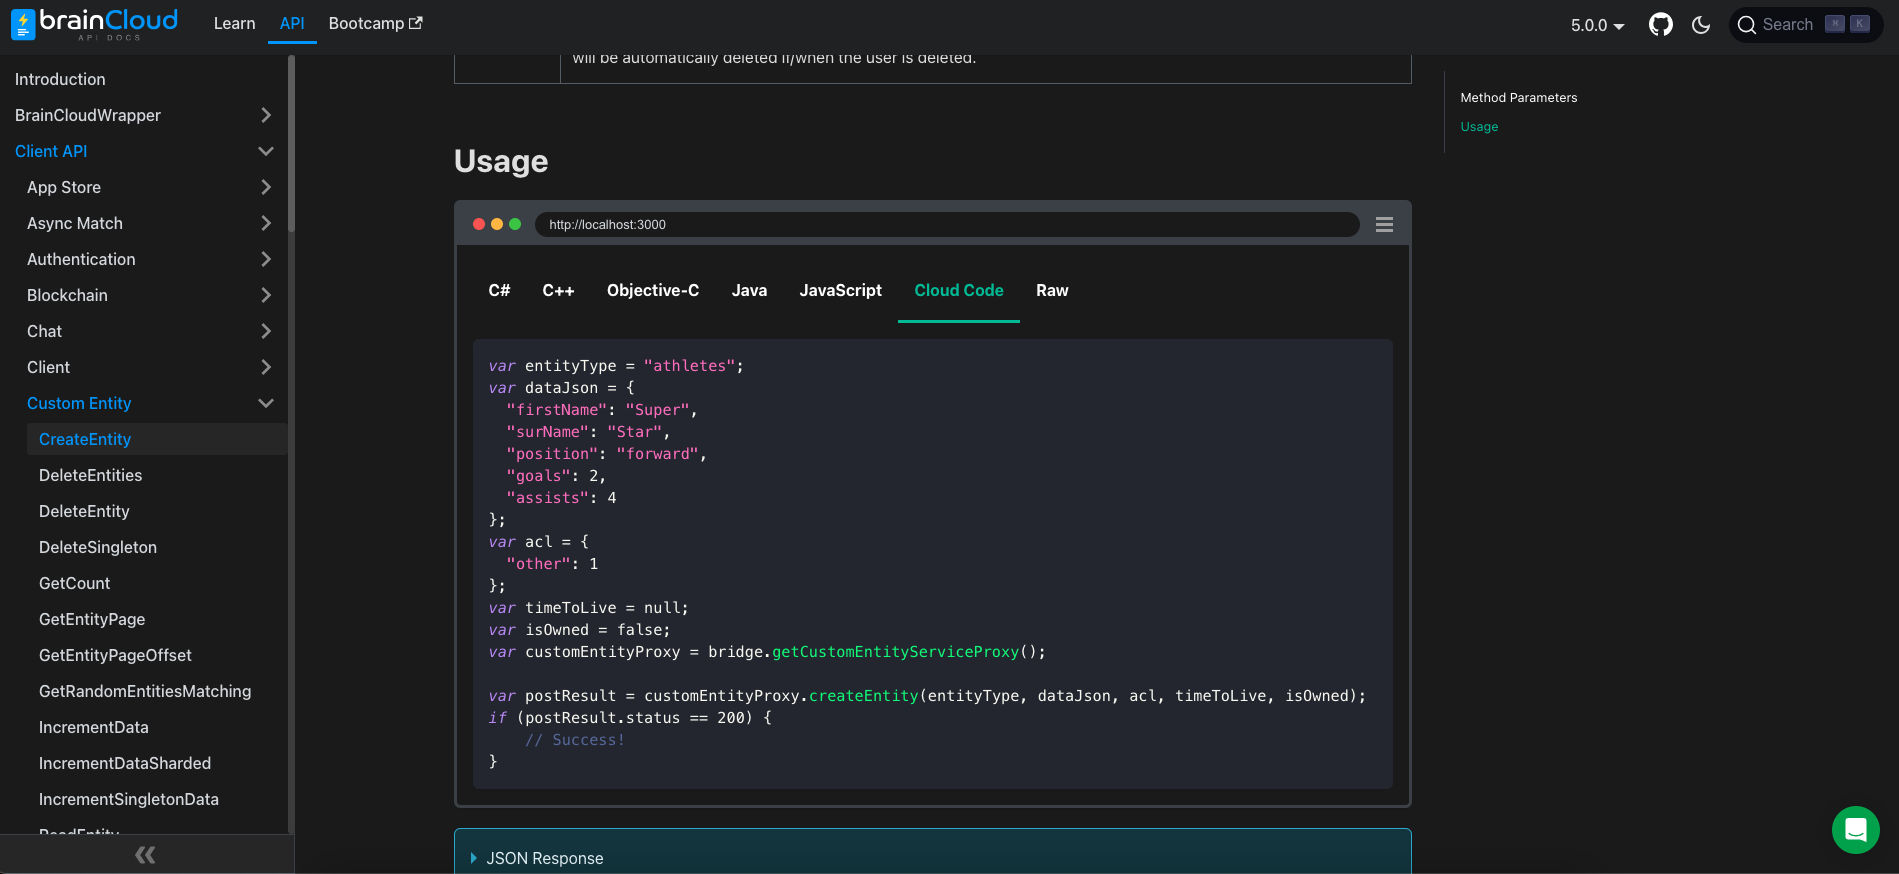
- If you haven't checked out our API docs yet, you should check them out here: S2S
You can find more examples on how to use the brainCloud cloud scripts for your application!